


Hilina Pali Trail
August 2nd, 2014Last week my husband Ron and I did some hiking on the Big Island. Our first venture was the Hilina Pali Trail, inside Hawaii Volcanoes National Park.
My quick summary?
Spectacular scenery, but not a pleasant hike. I’m glad we did it, but I doubt we’ll do it again.

Here I am at the start of the Hilina Pali Trail. It’s all downhill from here — that is, until it’s time to head back.
Photo by Ronald J. Nagata
(There are a lot more photos at the end of this write up!)
Here’s the longer version:
Volcanoes is a huge park, with extremely varied terrain that runs from the shoreline to Mauna Loa’s 14,000-foot summit. Hilina Pali — and “pali” is the Hawaiian word for “cliff” — is an escarpment on the southeast coast. The trail begins at the end of a nine-mile-long spur road that branches off from Chain-of-Craters Road. Starting elevation is about 2,260 feet. The trail descends a steep 1,200 feet through sometimes difficult terrain. It then crosses a wide bench, slowly descending another 800 feet. From here, it’s another 200-foot drop to near sea level. Roundtrip mileage is only around eight or nine miles according to the map, but I believe it’s significantly longer than this, by another mile or even two.
This is a tough hike! Not so much for the mileage, but because of the heat, the terrain, and the monotonous landscape. The initial descent is the hardest part of the hike. It can be quite steep, and the footing is treacherous in parts. It crosses an `a`a lava flow and some of the trail is paved in `a`a “clinker”–loose stones that can easily roll out from under your boot. I skidded several times on the way down and fell down once. The trail doesn’t seem to get a lot of use. Grass and weeds are overgrowing it, so it’s often hard to see where you’re placing your feet. And it’s hot. Did I mention it’s hot?
We were actually lucky, because a very strong wind was blowing all day. Now and then while on the cliff we would find ourselves in the lee, and it was sweltering!
To descend this trail safely, I highly recommend hiking sticks. If you’ve never used sticks before, um, well, get over it. They’re great, and they will save a lot of strain on your knees. Other absolute necessities are good hiking boots, sunscreen, clothing that will protect you from the sun, and LOTS OF WATER. I don’t usually drink a lot of water when I hike, but this time was an exception. We had enough water with us, but just barely. It would have been a good idea to bring more.
Once at the bottom of the cliff, there is a long, slow descent across a bench covered in grass and low-growing shrubs. The trail is marked by stacked rocks known as ahu. The stacks can be small or tall. You have to keep an eye out for them or you will lose the trail. This matters particularly on the way back, because I suspect it would be hard to find the bottom of the cliff trail if you didn’t have the ahu to lead you to it.
The terrain in this section is monotonous. Ron and I are interested in plants, but there were maybe half a dozen weedy species here, nothing at all interesting. Also, while I didn’t use GPS to map the hike, I am sure the mileage for this section was significantly more than what the map showed — although the hiking here was easy.
Did I mention it was hot?
When we reached the seaside end of the bench, we wanted to take a spur trail down to the coast, but we couldn’t find the trail, so we made our own way down the two-hundred foot cliff. We did find the trail later on. Facing the ocean, it’s to the right of the trail junction sign. Look for an ahu. But better signage would be helpful.
The coastal area was gorgeous, with extensive tide pools. It’s a beautiful spot for lunch.
So, what was the most amazing thing about this hike? It was the isolation! We were the only ones on the trail. So far as I could tell, we were the only ones in the entire coastal area. We saw no one until we hiked out to the parking lot. Oh — as most experienced hikers will tell you, prolonged downhills are the hard parts of most hikes. The hike up Hilina Pali was surprisingly easy.
A lot of photos with captions follow. I hope you enjoy them, and please let me know if you’ve ever hiked this trail, or if you plan to.
For those interested in another, even more difficult trail, this time on Maui, check out my write up on Haleakala Crater Rim to Kaupo Ranch.
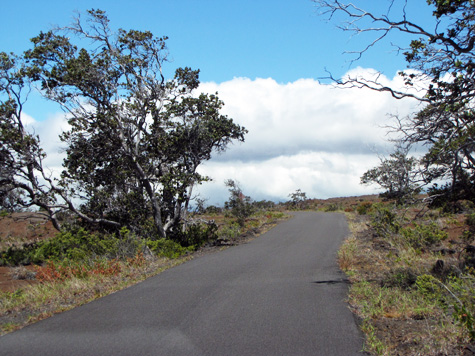
From Chain-of-Craters Road it’s a nine-mile drive on Hilina Pali Road to the trailhead. The road is one lane, but it’s paved, and at the time we went it was in excellent condition.
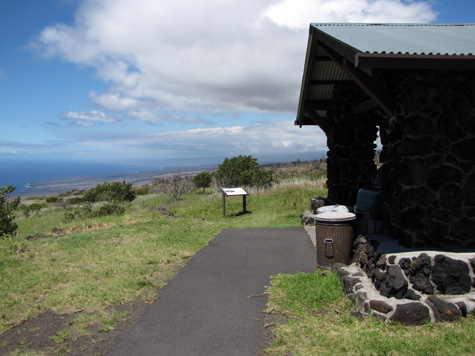
This is the small shelter at the end of Hilina Pali Road. The trail starts by the sign in the background.
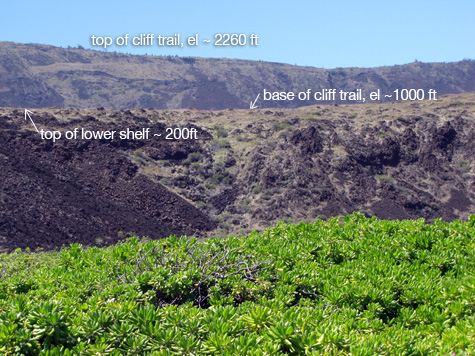
Here’s the diagram of what we’ll be doing: descending the major cliff, crossing a wide bench with a gradual slope, and then descending a second, much shorter cliff.
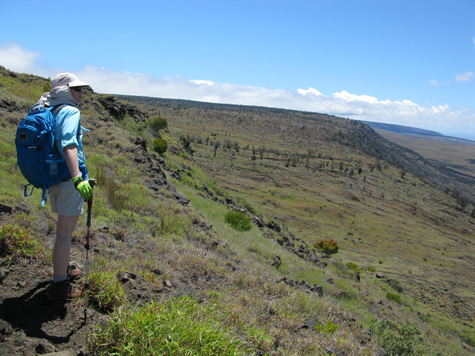
This is me, shortly after the start of our hike, near the top of the Hilina Pali Trail.
Photo by Ronald J. Nagata
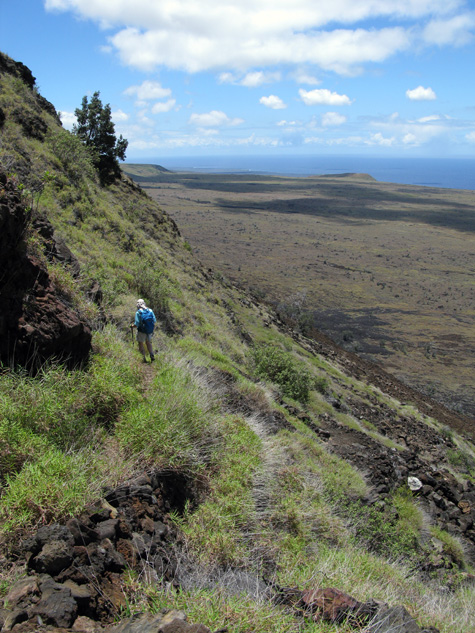
This is an upper section of the Hilina Pali Trail. The trail varies a lot. Some stretches are nicely paved with carefully set lava stone, other parts are dirt and many of these are overhung with grass and weeds, making it difficult to see where you’re stepping. Still other parts are `a`a clinker, which can easily roll out from under your feet. I fell down only once — that felt like an accomplishment! — but I skidded many times.
Photo by Ronald J. Nagata
This is a view looking south. That’s the trail, wandering off on the right side of the photo, in a section paved with `a`a clinker.
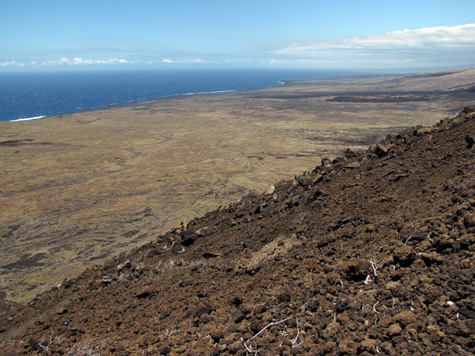
Another view, looking southwest along the cliff trail.
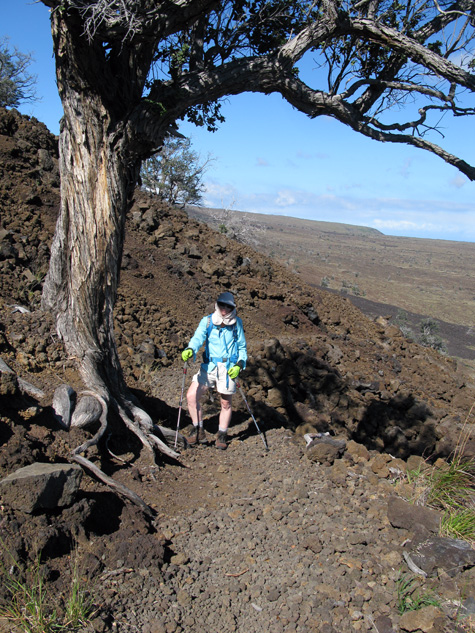
Ohias are probably the most common native tree in Hawaii’s mountains. They can grow large in good conditions, but in austere terrain like this, an ohia of good size is sure to be old. I wouldn’t be surprised if this one was a century old, but I have no way to know for sure.
Photo by Ronald J. Nagata
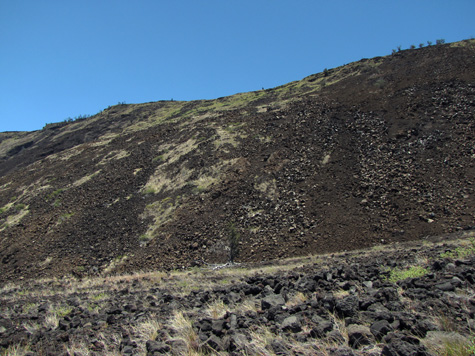
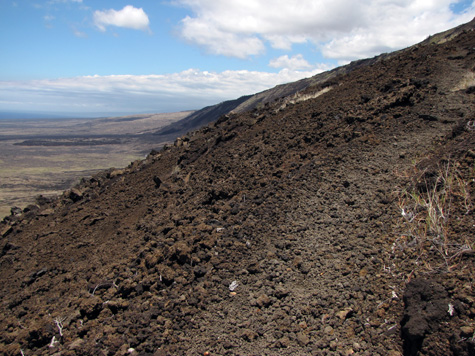
Halfway down this loose crumbly slope I was reminded of the scene in my novel MEMORY when Jubilee and company descend the treacherous trail from the plateau.
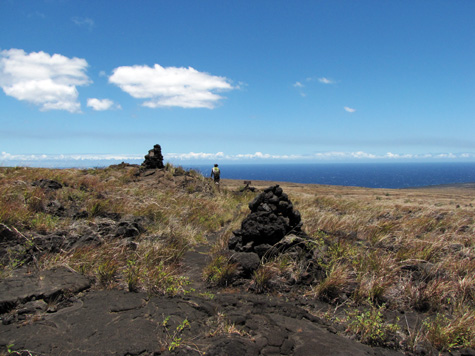
Ahu is the Hawaiian word for stacked stone markers that are used to mark trails and other sites. They can be just a few rocks stacked on top of each other, or large towers six or eight feet high. These are some of the larger ahus marking Hilina Pali Trail as it crosses the flat shelf below the main cliff.
Here’s Ron, posing for me. This is at the 200′ elevation, just above the short drop to the shoreline.
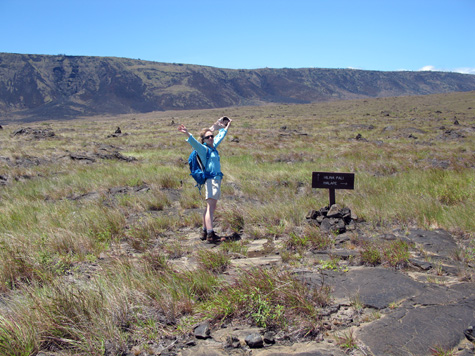
The day was very, very windy! Windy enough that it sometimes unbalanced us as we walked — but if not for the wind, the day would have been unbearably hot.
Photo by Ronald J. Nagata
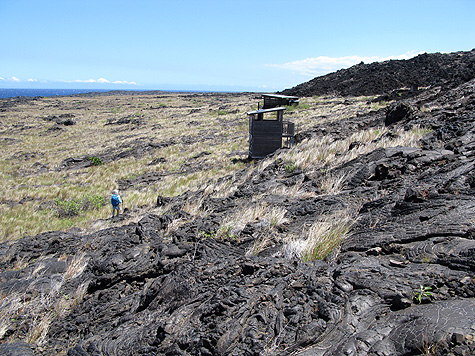
At the bottom of the trail, the National Park Service maintains a small shelter. I think overnight camping is allowed. The building in the foreground is an elevated outhouse–definitely the best view from an outhouse I have ever seen, although not a lot of privacy, beyond the utter isolation of the area.
Photo by Ronald J. Nagata
We finally reached the shoreline. It’s a gorgeous area, with extensive tidepools. A native, edible limpet, known as `opihi, grows here in abundance, as evidenced by all the shells left on the shoreline. I was craving protein at this point, but I’m one of the few people who is not fond of `opihi, so we left the little guys alone.
Photo by Ronald J. Nagata
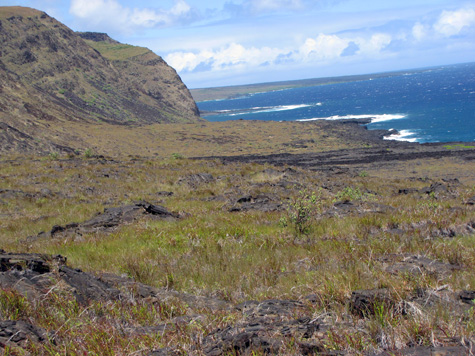
This is a view of the shoreline, looking northeast. The trail continues along the top of these cliffs, but we didn’t go in that direction.
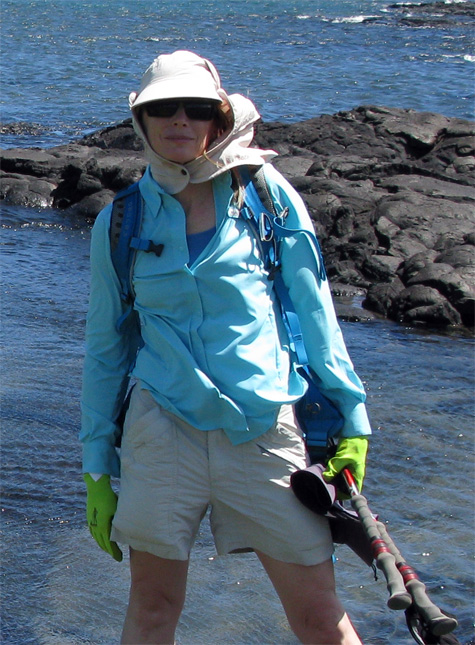
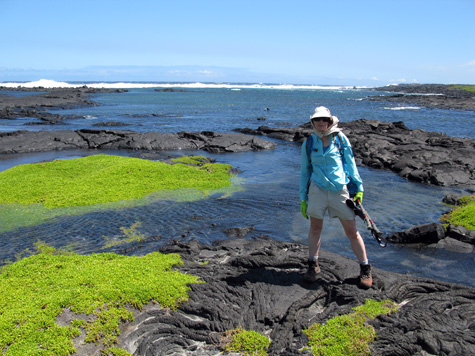
That’s me, in my rig, having finally reached the shoreline. Note my green gloves. Cheap gardening gloves work great!
Photo by Ronald J. Nagata
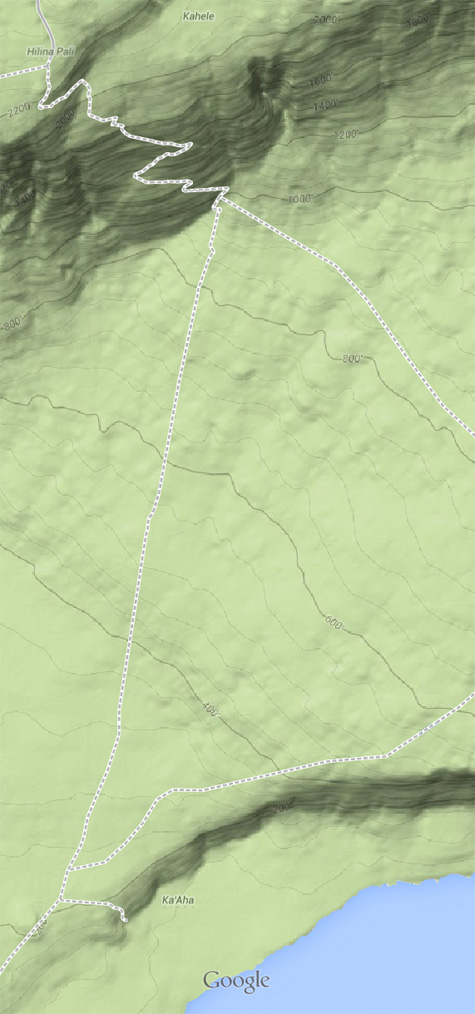
This trail’s two steep drops are easy to see on Google’s terrain map.
Posted on: Saturday, August 2nd, 2014 at 2:20 pm
Categories: Hawaii, Hiking.
Tags: Big Island, Hilina Pali, Hilina Pali Trail
August 2nd, 2014 at 2:34 pm
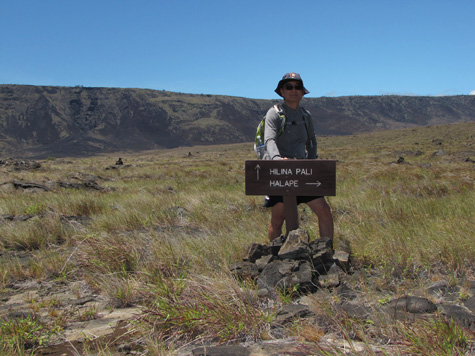
Wait, no better picture of the interpretive sign?!
August 2nd, 2014 at 2:36 pm
Uh…no.